
How to install Nextcloud on Ubuntu 22.04, with push notifications, high-performance file syncing and Office document editing

Nextcloud Hub 7 is the latest version of Nextcloud, a cloud storage, productivity and collaboration suite, which allows you to use your own server or VPS as a Google Drive/Dropbox-esque platform for file access and management, collaborative document editing, contacts, calendars, webmail, pictures, media and more. If Nextcloud itself doesn't cover it, that functionality can likely be added through a multitude of available plug-ins in the form of "Apps"; integrations exist for services such as Diagrams.net (formerly known as Draw.io), which lets you create and edit great-looking diagrams as well as open documents from Microsoft Visio, and for the Collabora productivity suite to work on slides, docs and spreadsheets right from your personal cloud.
Best of all? Nextcloud is free, open-source and security-hardened, meaning that you have complete control of your data stored on Nextcloud, that anyone can read and inspect Nextcloud code and contribute towards extending its functionality. It's a complete, battle-tested solution ready for enterprise use at very large scale.
0. Introduction & Requirements
This guide assumes at least basic knowledge of how to operate a *nix command line (bash), install packages and edit text files (using nano or vim) as well as a working Linux server to install this on. You're also going to need a domain pointing to your server's IP, and if this is a home server, you'll have to set up port-forwarding and potentially dynamic DNS to make your server reachable from the outside world (in that case, the free service DuckDNS should help you with the domain and DNS part, but you'll still have to figure out port forwarding, which is required on ports 22, 80 and 443). In other words, even if you know "just enough to be dangerous", this is the guide for you!
Before starting, make sure all packages are up to date:
sudo apt update
sudo apt upgrade -y
Update all packages
I'll do my best to keep this guide updated for as long as possible. The last update was on 2023-12-14.
1. Setting up a firewall
This is a small but important step. Before we begin exposing services to the outer world, it's important to draw a distinction between what we intend to make public and what instead should not be accessible remotely. In our case, we'll be allowing traffic from the Internet on port 22, 80 and 443, which would be SSH, HTTP and HTTPS respectively. HTTP will only be used to obtain and renew SSL certificates, while the entirety of your communications with Nextcloud will happen over HTTPS.
ufw, which—quite descriptively—stands for "Uncomplicated Firewall". It comes standard with Ubuntu Server, so you don't actually have to install anything.If you've never used ufw before, the command sudo ufw status should return something like:
Status: inactiveBefore we make it active—and this is particularly important if we're connecting over SSH—we want to ensure we aren't locking ourselves out. Let's allow traffic for OpenSSH through the firewall:
sudo ufw allow OpenSSH
# Rules updated
# Rules updated (v6)

# We can now enable ufw
sudo ufw enable
# Firewall is active and enabled on system startup
Set up firewall
If you did that correctly, you should still be able to access the server via SSH, and see the existing rules by entering sudo ufw status. This is what it should look like:
Status: active

To                         Action      From
--                         ------      ----
OpenSSH                    ALLOW       Anywhere
OpenSSH (v6)               ALLOW       Anywhere (v6)
Should you ever wish to disable the firewall (why though?) you can just as easily do that with sudo ufw disable. Pretty nifty, huh?
2. Creating a database
Nextcloud has to store and organize files as well as collect additional info ("metadata") about them, keep track of your events, contacts, bookmarks, index your data and make it useful. To accomplish much of this, Nextcloud uses a relational database, which we actually have to provide. Thankfully, on Ubuntu 22.04 it's super-easy to install a relational database management system (RDBMS) and create a database. We'll be using PostgreSQL, due to its great performance and native compatibility with the UTF-8 character set.
For MySQL/MariaDB users
You can use MariaDB (or MySQL) if you want, and you can skip this step if you already have created such a database on your own (provided you take some steps to ensure the proper character set is in use), but right now we'll be using what is considered, in my opinion, to be the best and most reliable option. If you plan on using MariaDB or MySQL, make sure to install php8.2-mysql instead of php8.2-pgsql.
To install PostgreSQL (or "Postgres" for short), simply get the postgresql package, which will install both the server and the client for version 12 of Postgres:
sudo apt install postgresqlInstall PostgreSQL
As soon as Postgres is installed, a new special user account postgres will have been created: this user is able to manage all databases and create new ones, and is the equivalent of root for PostgreSQL. To create a new database, first let's enter the command-line interface of Postgres:
sudo -u postgres psqlLaunch psql
Once you're in the console, enter the following commands:
CREATE USER nextcloud WITH ENCRYPTED PASSWORD 'a8Ei6sg2DXrwgyNwz2oE';
CREATE DATABASE nextcloud WITH OWNER nextcloud;
Create nextcloud database and user
a8Ei6sg2DXrwgyNwz2oE with a randomly-generated password of your choice containing any alphanumeric characters, as large as you wish (although no longer than 99 characters), and save it somewhere safe. This is the key to access the database we just created, and we'll have to provide it to Nextcloud.Finally, type in exit;
Now on to install the web server!
3. Installing a web server and PHP
We have secured our server against external attacks, and we've installed a database for Nextcloud to store some of its most important data on. The next crucial step is to set up NGINX—a blazing-fast, free and open-source web server—as well as PHP-FPM. NGINX takes care of receiving and responding to all incoming requests, while PHP-FPM runs the actual Nextcloud code and provides NGINX with the content to reply with. We'll be using PHP 8.3, which is the latest version as of the last update of this article, although you should check this page (specifically, the "PHP Runtime" section) for the latest version of PHP supported by Nextcloud.
To install the two components, along with video library ffmpeg, memory cache engine redis and a bunch of additional PHP modules that Nextcloud (or some of the most popular Nextcloud apps) rely on, we first need to add Ondrej's repository, which packages the most recent versions of PHP for Debian platforms. Run:
sudo add-apt-repository ppa:ondrej/php && sudo apt update

sudo apt install -y nginx ffmpeg redis php8.3 php8.3-bcmath php8.3-bz2 php8.3-cli php8.3-curl php8.3-fpm php8.3-gd php8.3-gmp php8.3-imagick php8.3-imap php8.3-intl php8.3-mbstring php8.3-opcache php8.3-pgsql php8.3-phpdbg php8.3-readline php8.3-redis php8.3-smbclient php8.3-xml php8.3-zip
Install NGINX and PHP modules
By default, the two services nginx and php8.3-fpm are enabled to launch on boot. You can always disable, enable, stop, start, restart or reload them using systemctl like this:
sudo systemctl disable nginx php8.3-fpm # Disable auto-startup
sudo systemctl enable nginx php8.3-fpm # Enable auto-startup
sudo systemctl stop nginx php8.3-fpm # Stop both services, if running
sudo systemctl start nginx php8.3-fpm # Start both services, if not running
sudo systemctl restart nginx php8.3-fpm # Stop and restart both services
sudo systemctl reload nginx php8.3-fpm # Reload updated configuration without restarting
Manage services
reload is especially convenient if you have made changes to NGINX and want to ensure users enjoy a seamless experience, without disconnections. We'll be using systemctl extensively to enable, disable, start, restart and reload services, so it's useful to learn their syntax, in case you aren't used to working with systemd. You can also check the current status of a service using sudo systemctl status followed by the name.Finally, we have to allow connections to NGINX through our firewall. Right now, we cannot connect to the web server because it's being secured by ufw. Changing that is easy:
sudo ufw app list
# Avaliable applications:
#   Nginx Full
#   Nginx HTTP
#   Nginx HTTPS
#   OpenSSH

sudo ufw allow "Nginx Full"
# Rule added
# Rule added (v6)
List ufw's available apps and allow Nginx Full through the firewall
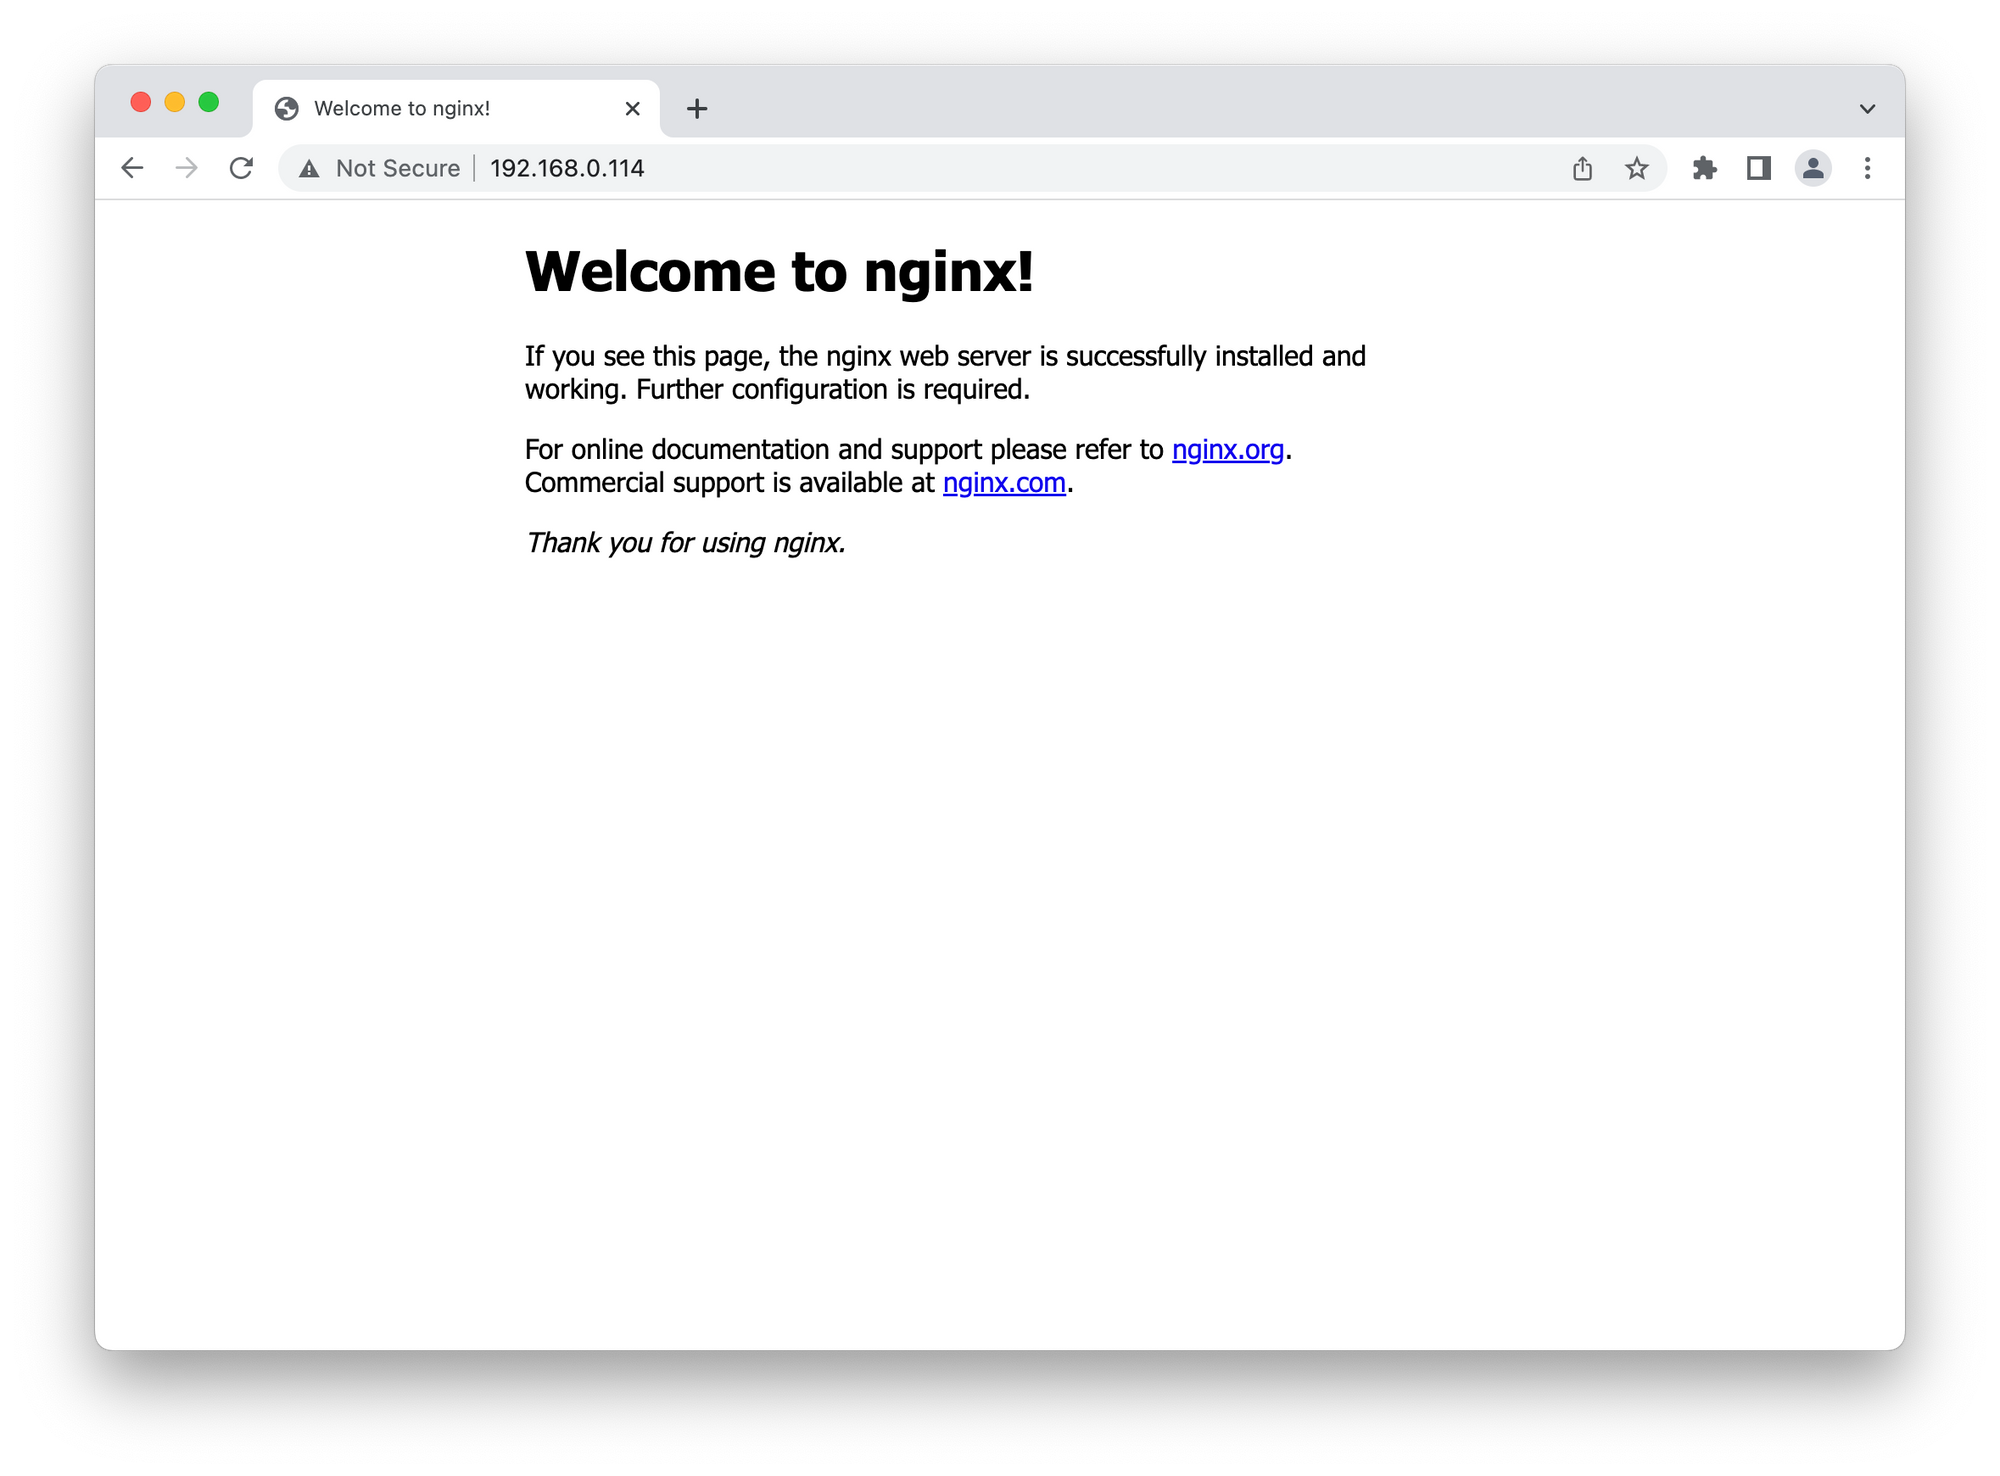
sudo ufw app list to see what services are available to allow through the firewall and sudo ufw allow followed by the service name or port to allow them. To see all ufw options, do ufw --help.If you've done everything properly, you should be able to point your browser to your server's IP address (or the associated domain name) and see the default NGINX test page:
4. Installing Nextcloud
Finally, we are getting to the meat of the process: downloading and installing the Nextcloud software. First and foremost, point your web browser to the download page on the official Nextcloud website in order to find the latest download link for the .ZIP archive containing Nextcloud Server. As of the writing of this article, such link can be found under the Community Projects section, and it is:
https://download.nextcloud.com/server/releases/latest.zipOn your server, download the archive and extract it in /var/www (a directory intended for websites and webapps), then ensure permissions are such that only www-data has access to it. www-data is a special user account on Ubuntu Server which is specifically designated for serving web content; everything www-data can see can be accessed by nginx—no more, no less:
# We need unzip in order to extract the archive
sudo apt install unzip

cd /var/www/

# Make sure you use the URL found earlier
sudo curl https://download.nextcloud.com/server/releases/latest.zip -o nextcloud.zip

sudo unzip nextcloud.zip

# Alter owner/group and permissions recursively with the -R flag
sudo chown -R www-data:www-data nextcloud/
sudo chmod -R 775 nextcloud/
Download and extract Nextcloud
Now we need to configure NGINX and PHP-FPM to serve our website. Let's get rid of the default website configuration and create one specifically for Nextcloud:
sudo rm /etc/nginx/sites-enabled/default

sudo nano /etc/nginx/sites-available/nextcloud
Inside this file, paste the recommended configuration for Nextcloud, which I have very slightly tweaked (original here), among other things, to add support for push notifications, to use a socket instead of TCP for PHP-FPM and most importantly to temporarily remove HTTPS encryption: we'll be using Certbot to obtain our SSL certificate for the domain and set up SSL automagically for us.
Make sure to replace "nextcloud.example.com" with your desired Nextcloud domain name or subdomain!
nextcloud.example.com with your Nextcloud domain, as well as the /etc/ssl/mycert.crt and /etc/ssl/mycert.key paths to reflect your SSL certificate and key.We then need to enable the website by creating a symbolic link to the configuration in /etc/nginx/sites-enabled and finally reloading the web server:
# It is important to indicate the full path when symlinking
sudo ln -s /etc/nginx/sites-available/nextcloud /etc/nginx/sites-enabled/
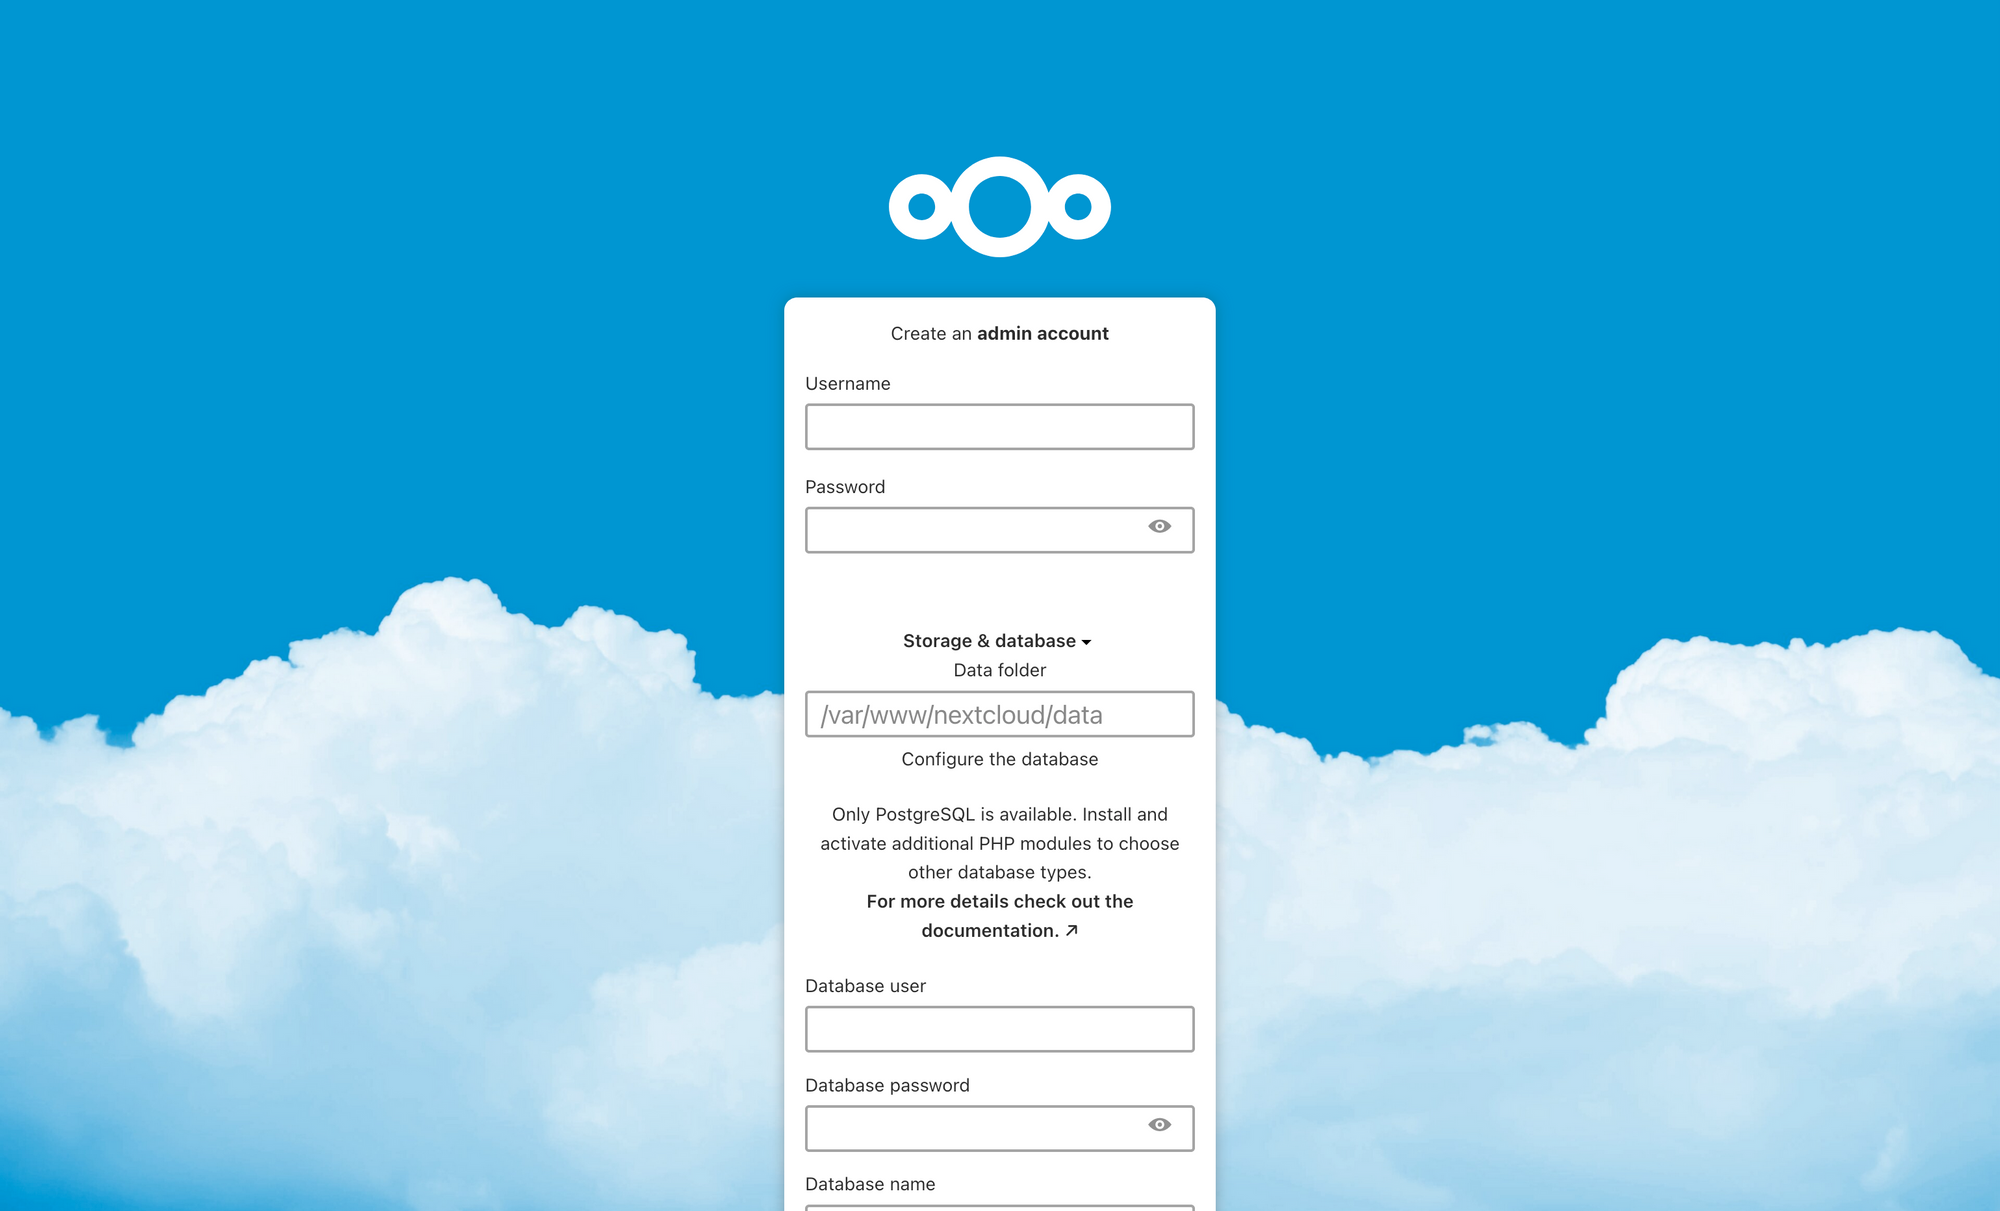
sudo systemctl reload nginxYou can now direct your browser to http://nextcloud.example.com/nextcloud (where nextcloud.example.com is your domain) and should see the Nextcloud setup page magically appear!
Now it's time to secure your connections with HTTPS. We'll be using the free Let's Encrypt certificate authority with the certbot tool, so that certificates can work everywhere, can be generated, setup with NGINX and will be renewed automatically by your system.
Install certbot from the Ubuntu Snap store (we'll use snap instead of apt because sadly the APT package for certbot is no longer updated):
# Ensure snapd is updated
sudo snap install core
sudo snap refresh core

# Install certbot
sudo snap install --classic certbot
Now when we run the sudo certbot command, we'll be presented with a user-friendly interactive prompt to help us enable SSL on our domain. Find the corresponding domain's number and enter it (there should be only one option, 1, or you might not get prompted at all if you only have one domain configured):
Select the appropriate numbers separated by commas and/or spaces, or leave input
blank to select all options shown (Enter 'c' to cancel): 1
Requesting a certificate for nextcloud.example.com

Successfully received certificate.
Certificate is saved at: /etc/letsencrypt/live/nextcloud.example.com/fullchain.pem
Key is saved at:         /etc/letsencrypt/live/nextcloud.example.com/privkey.pem
This certificate expires on YYYY-MM-DD.
These files will be updated when the certificate renews.
Certbot has set up a scheduled task to automatically renew this certificate in the background.

Deploying certificate
Successfully deployed certificate for nextcloud.example.com to /etc/nginx/sites-enabled/nextcloud
Congratulations! You have successfully enabled HTTPS on https://nextcloud.example.com

- - - - - - - - - - - - - - - - - - - - - - - - - - - - - - - - - - - - - - - -
If you like Certbot, please consider supporting our work by:
 * Donating to ISRG / Let's Encrypt:   https://letsencrypt.org/donate
 * Donating to EFF:                    https://eff.org/donate-le
Your HTTPS certificate is ready to use with Nextcloud, it will renew automatically, and all HTTP connections will be automatically redirected to HTTPS. Nifty, huh?
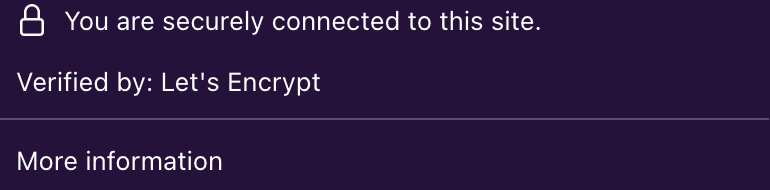
Try visiting your website at https://nextcloud.example.com/nextcloud now, you should see everything nice and 🔒 secured!
Time to fill in the configuration form:
- Username: a username of your choice for the admin account (not an email address)
- Password: your sign-in password; the admin user can access all user data and make changes to the system, so you should pick a strong, randomly-generated password stored in a good password manager
- Data folder: the directory for all user files, media, app data, and essentially all information that isn't stored on the database; you can leave this as the default subdirectory
/dataof your Nextcloud installation.
Since it's not easy to change this value in the future, you're probably better off using the default/var/www/nextcloud/data, moving the actual directory to the physical location where you wish to store user data, and creating a symbolic link at/var/www/nextcloud/datawhich points to the new location, rather than fixing a specific location like/mnt/data_driveright now (although it's completely up to you) - Database user, password, name, host: information for the PostgreSQL database we created earlier.
In our case, user and name are bothnextcloud, while the password is the string you chose when creating thenextclouduser (in my casea8Ei6sg2DXrwgyNwz2oE).
Finally, uselocalhostas database host (in case it doesn't work, try127.0.0.1to use TCP instead of Unix sockets)
After confirming the information is correct, click on the button below to proceed with the installation. Sit tight as Nextcloud populates the database you gave it, and once all is done you'll be able to automatically install some essential apps, among which is the built-in Collabora Server for Nextcloud. You can go ahead and install those—you can still swap out the Collabora/Nextcloud Office plugin with the alternative app ONLYOFFICE should you prefer it.
5. Applying the finishing touches to the Nextcloud install
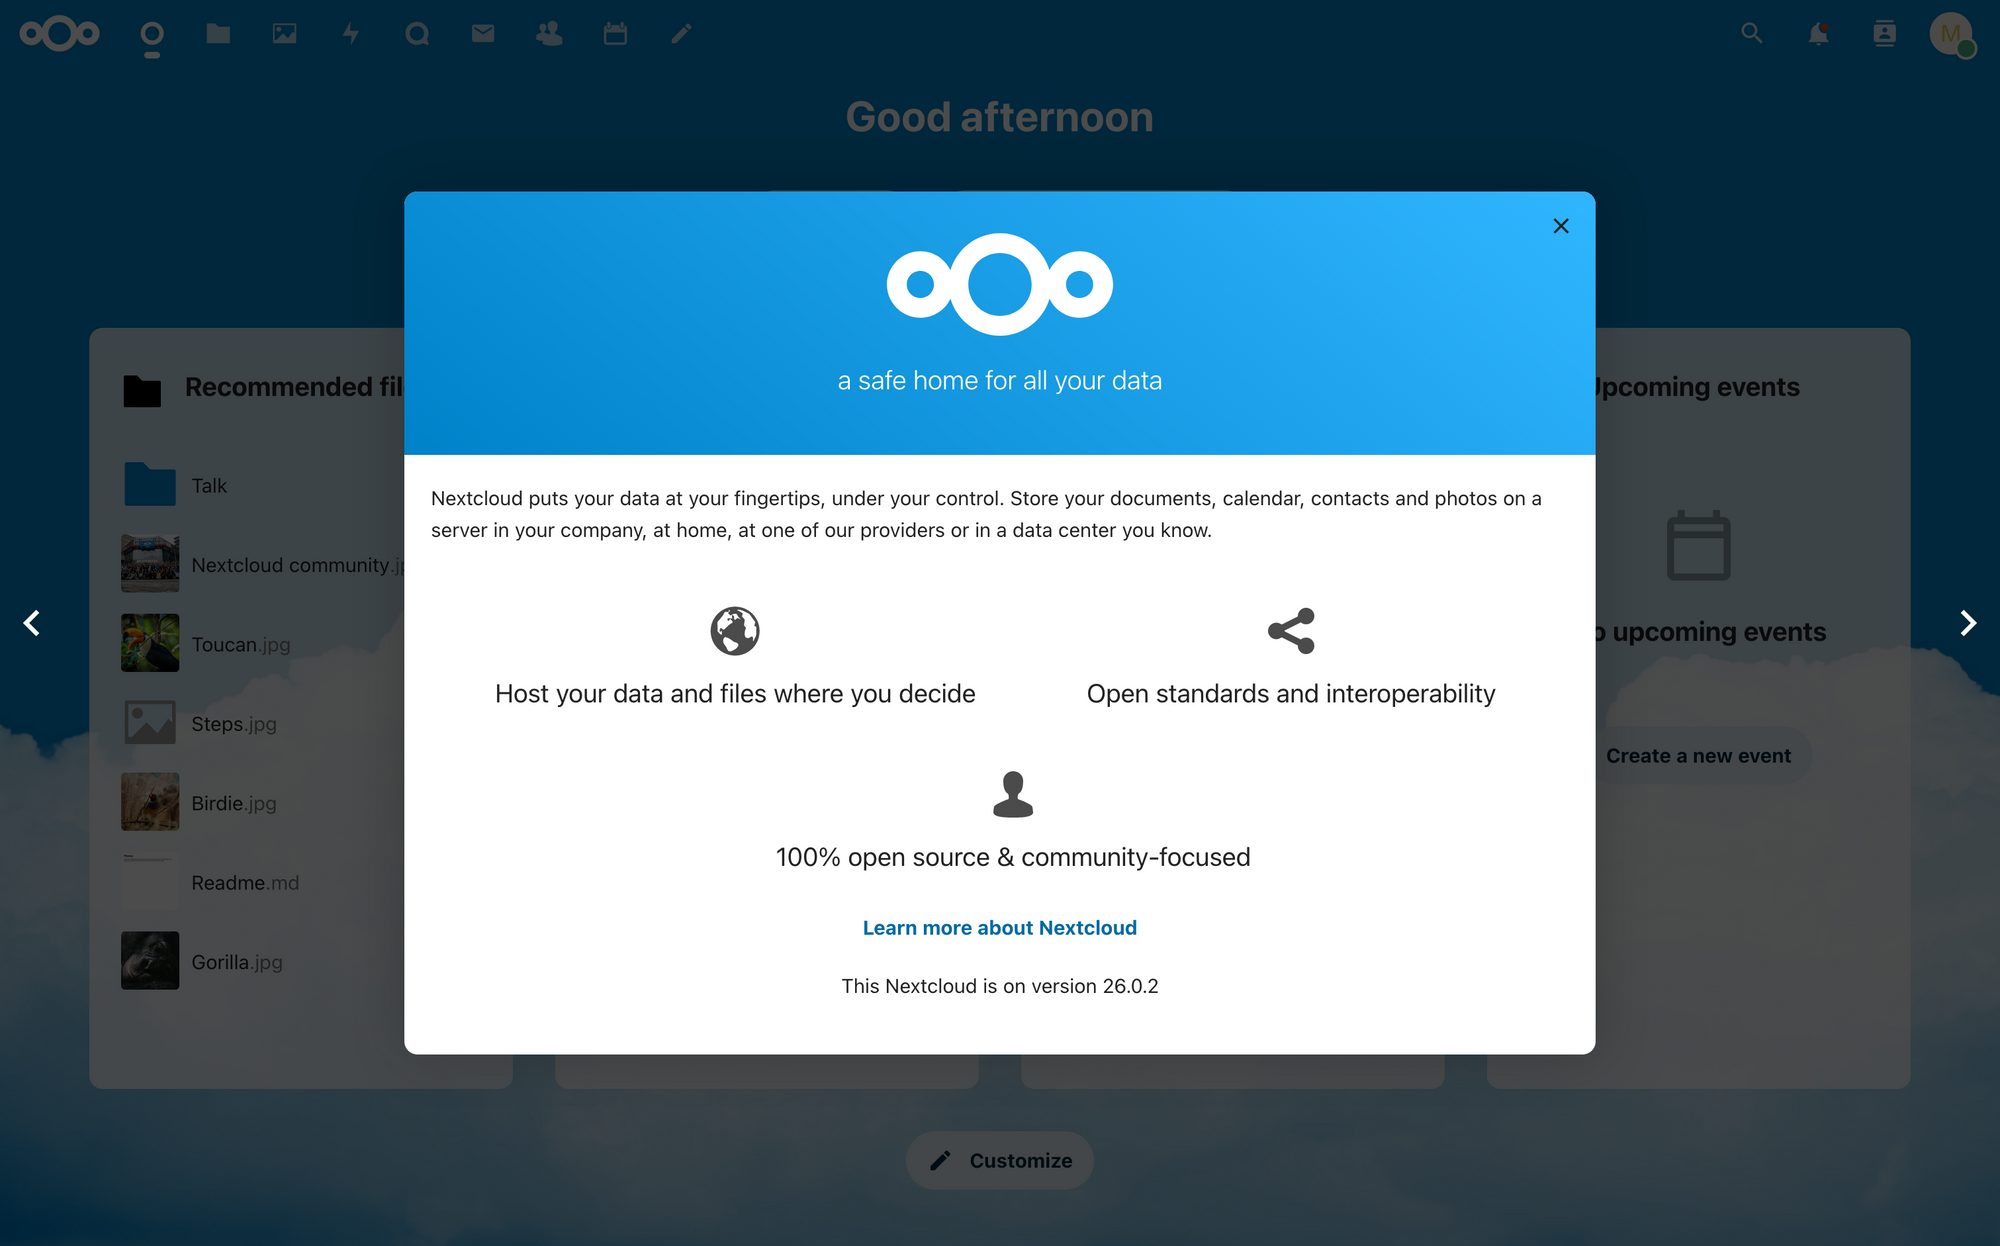
Now that Nextcloud is up and running, there are still some things to pay attention to in order to ensure a 100% smooth experience. From your profile picture's dropdown menu in the top-right, visit the "Administration settings" and give the "Overview" page a look. If you've come this far, you should have something that looks like this:
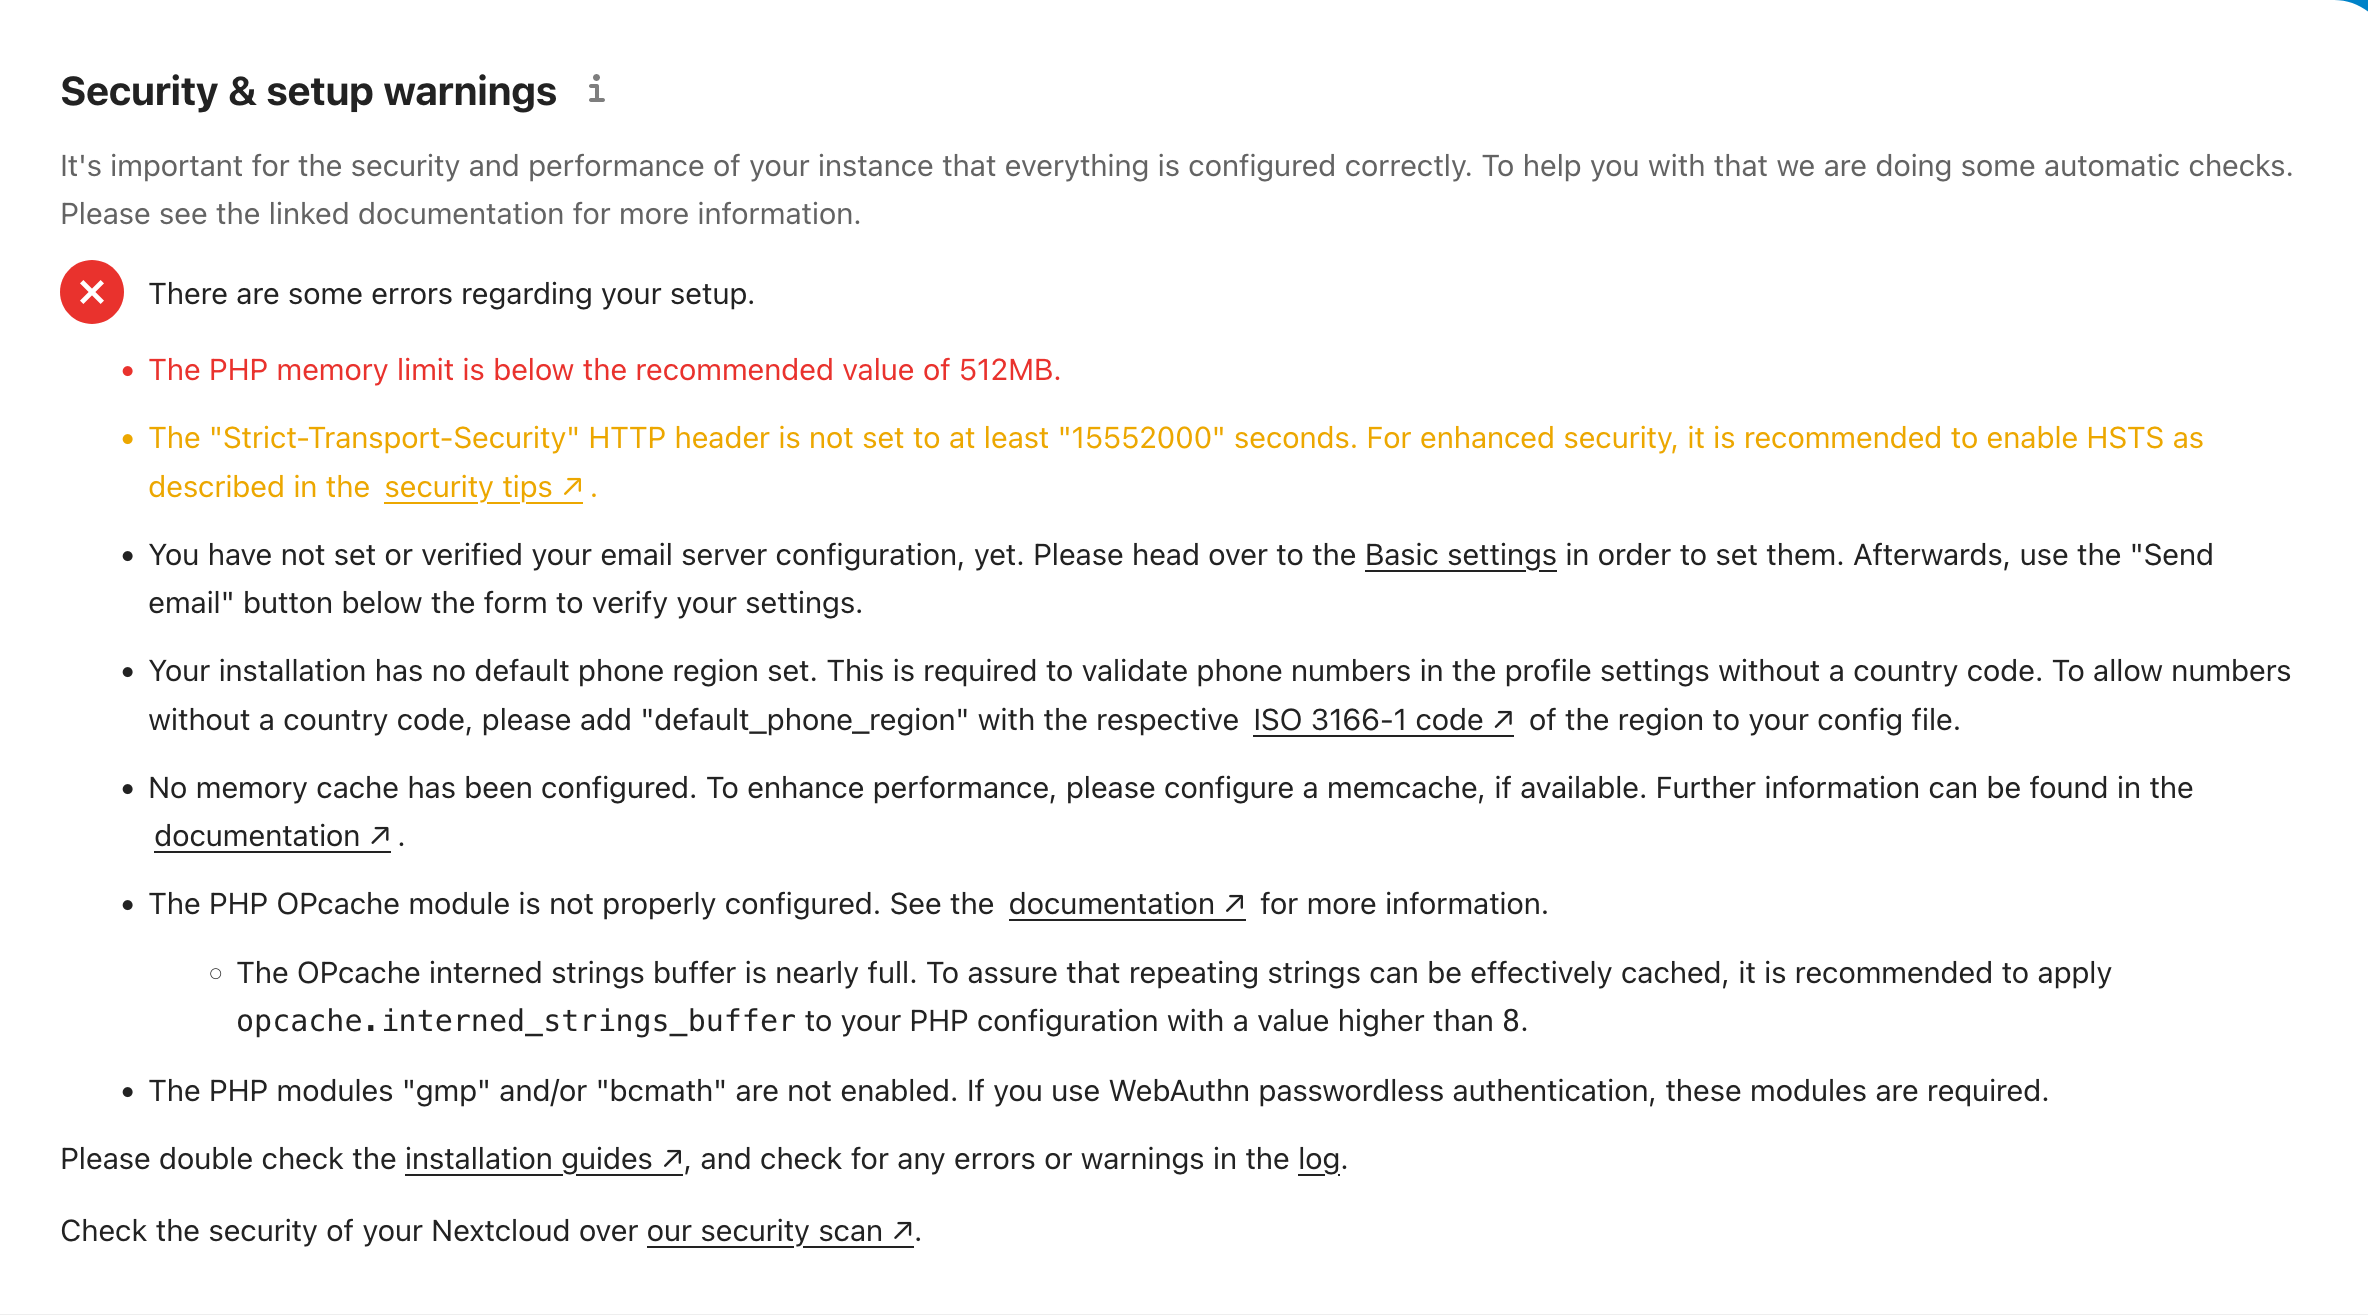
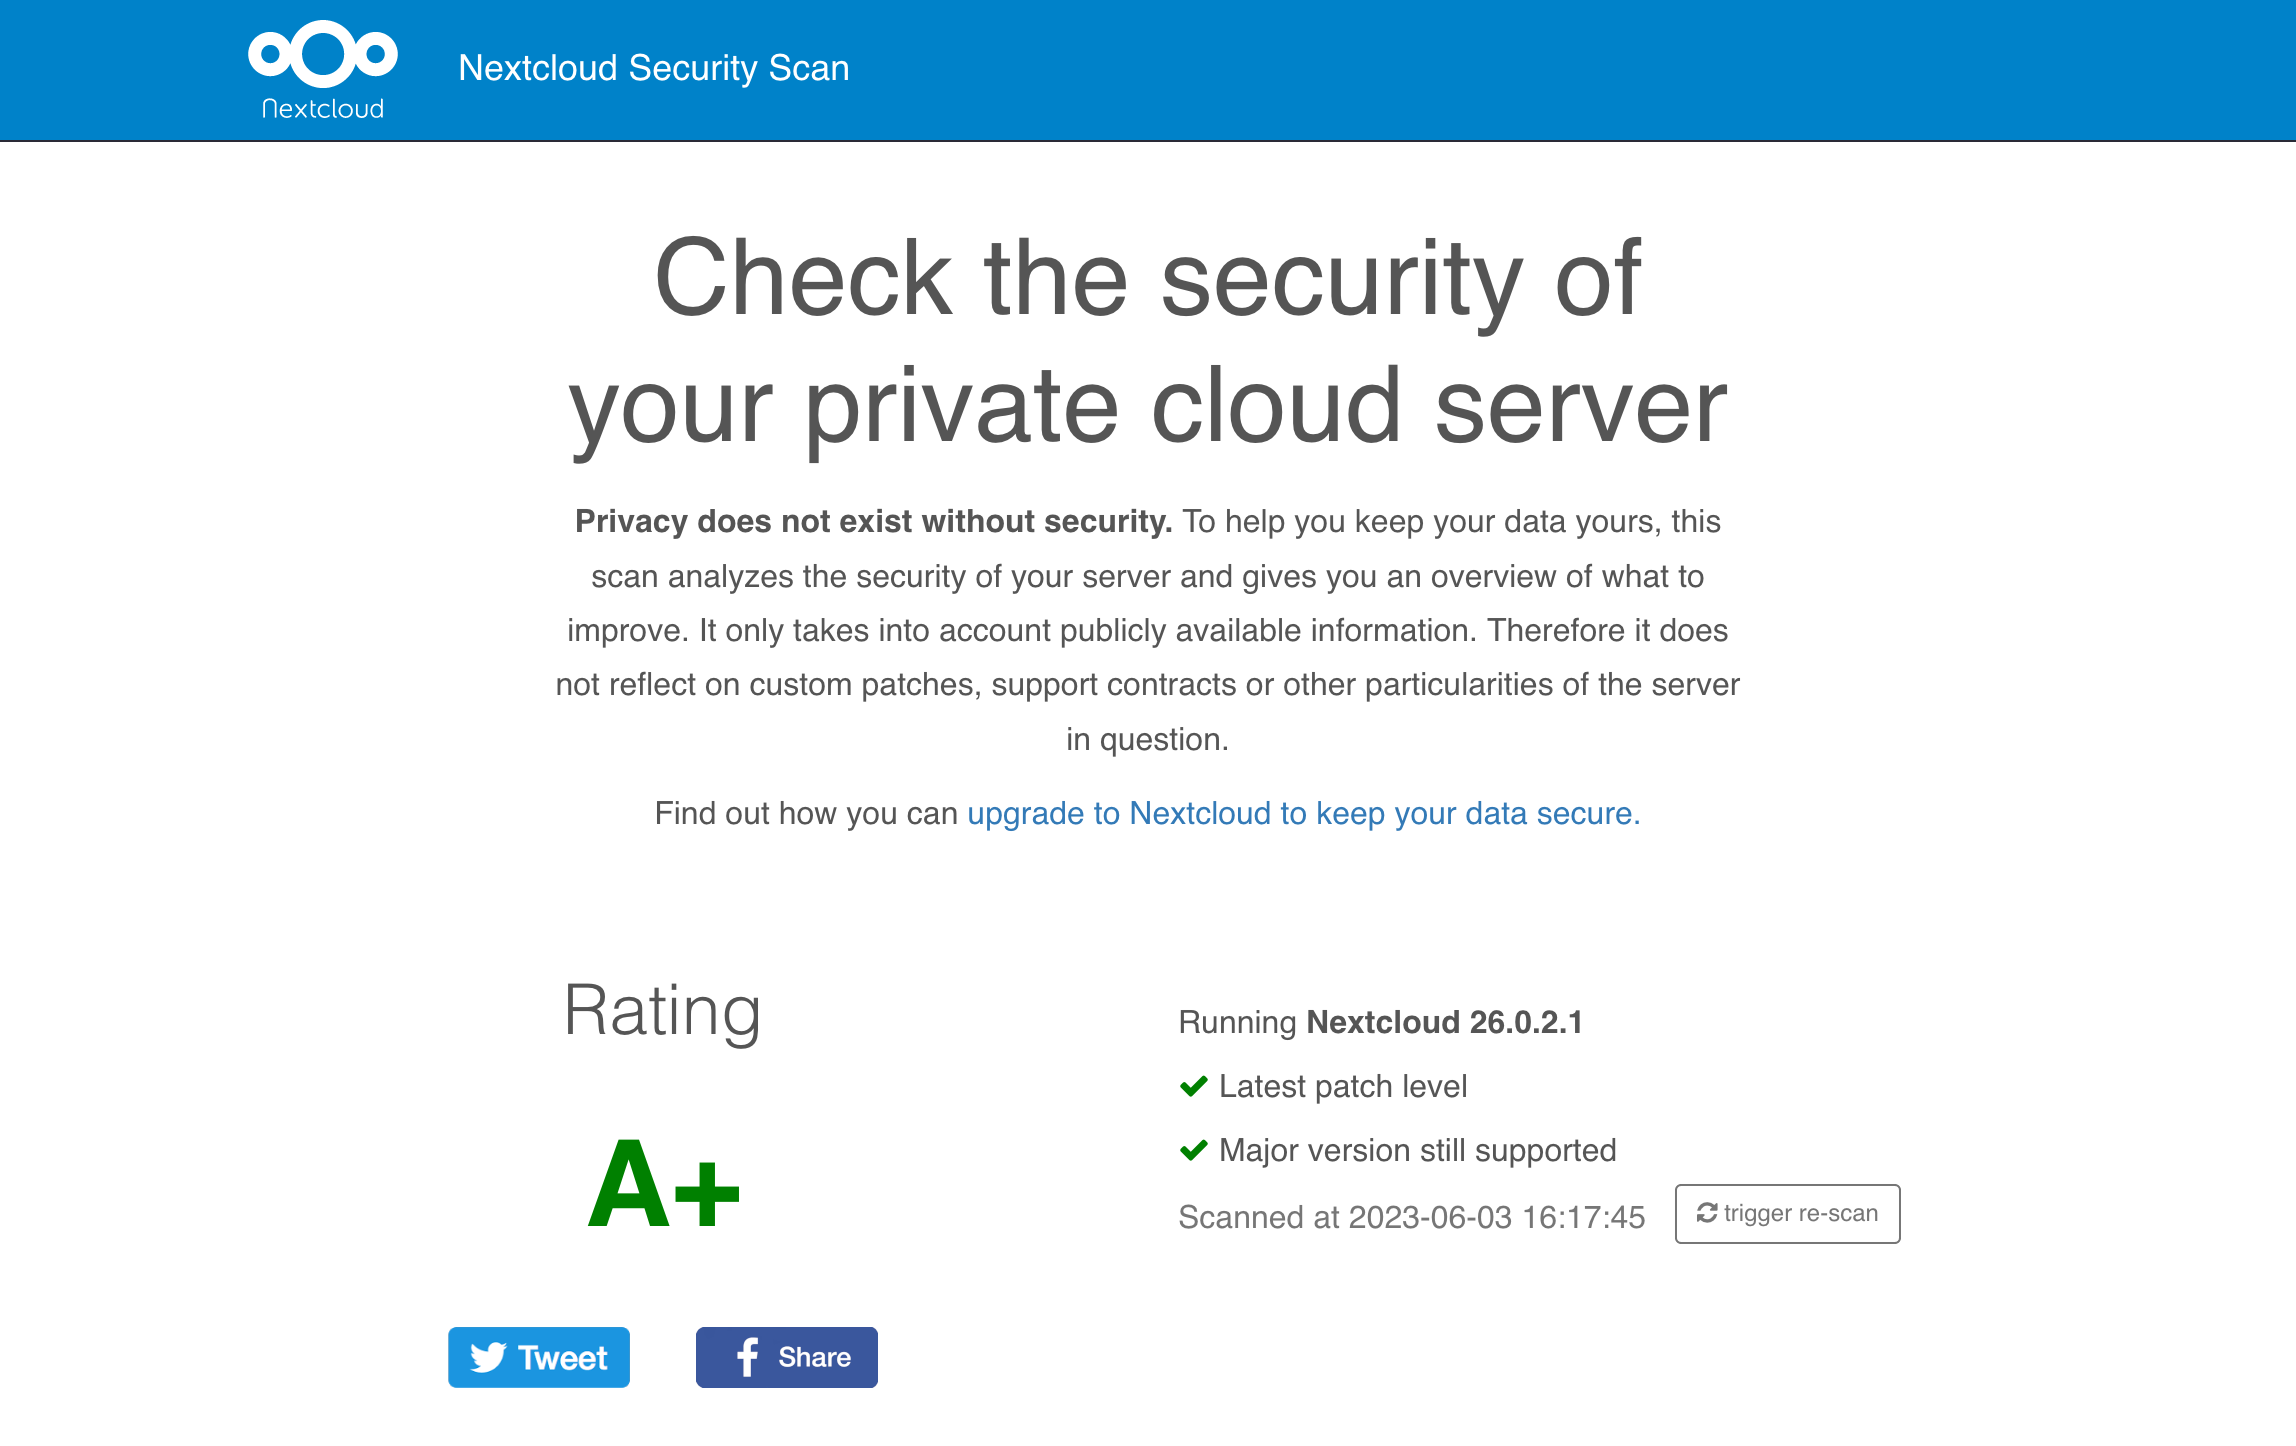
/settings/admin/overview page of your Nextcloud instance to run a "health-check" of your install, discover and fix problems. Additionally, once your system has been properly secured, you can perform a Security Scan from this page of the official Nextcloud website, which will inspect your system for vulnerable configuration and rate its level of hardening.Let's go ahead and fix these problems, one by one:
5.1. Raising the PHP memory limit and opcache preferences
This one is actually very easy. Just open the relevant PHP-FPM configuration file as root with your text editor of choice and increase the memory_limit value to at least 512M, and optionally also un-comment (remove the ; character) opcache.memory_consumption and opcache.interned_strings_buffer, and set them to 128 and 16 respectively:
sudo nano /etc/php/8.3/fpm/php.ini

# Change the following:

# ...
# memory_limit=512M
# ...

# ...
# opcache.memory_consumption=128
# opcache.interned_strings_buffer=16
# ...

# ...then save the file

# Reload PHP-FPM
sudo systemctl reload php8.2-fpm
Once PHP-FPM is reloaded, you can refresh the page and the warning should disappear!
5.2. Enabling HTTPS Strict Transport
HTTP Strict Transport Security (HSTS) is a web server's way of telling its clients "Hey browser, I'm talking to you in beautifully secure HTTPS, in fact, I am able to speak HTTPS, so never connect to me using old, plain and insecure HTTP, ever again."
By configuring NGINX properly, we can get it to send the proper HTTP response header to prevent malicious actors from seeing your private data should you try to connect over HTTP, as long as you've connected over HTTPS at least once.
An additional level of protection can be provided by HSTS "preloading", which will add your domain to a list of valid HTTPS domains that all major browsers will automatically refuse to connect to insecurely even before having ever interacted with them. Only proceed if HTTPS is working properly and you don't need to use non-HTTPS services on the same domain.
To enable it for Nextcloud, amend your /etc/nginx/sites-available/nextcloud configuration file with your text editor by un-commenting (removing the # character at the start of) the line:
add_header Strict-Transport-Security "max-age=15768000; includeSubDomains; preload" always;IMPORTANT: the preload keyword will probably get your domain added to the HSTS preload list (see the above warning for more info). This is a permanent change which can take months to undo, since your base domain name (e.g. example.com) will be shipped as part of a list within Google Chrome, Firefox, Safari, Edge et al. when users download them. If you don't wanna preload, cut the ; preload part out.
Once that's done, run sudo systemctl reload nginx to apply the changes.
5.3. Setting up SMTP email
In order for you and your users to receive notifications from your Nextcloud instance, for things like calendar invitations, password resets, email verification and so on to work on your server, we need to configure Nextcloud to have an email address.
The provider to use is completely up to you: I recommend creating a dedicated account, even something as basic as a Gmail box, or if you prefer having email with your own domain you might want to look into services like Brevo (formerly Sendinblue) or Mailgun, both of which offer a basic free tier for you to send email with over SMTP, along with DMARC domain verification via SPF and DKIM.
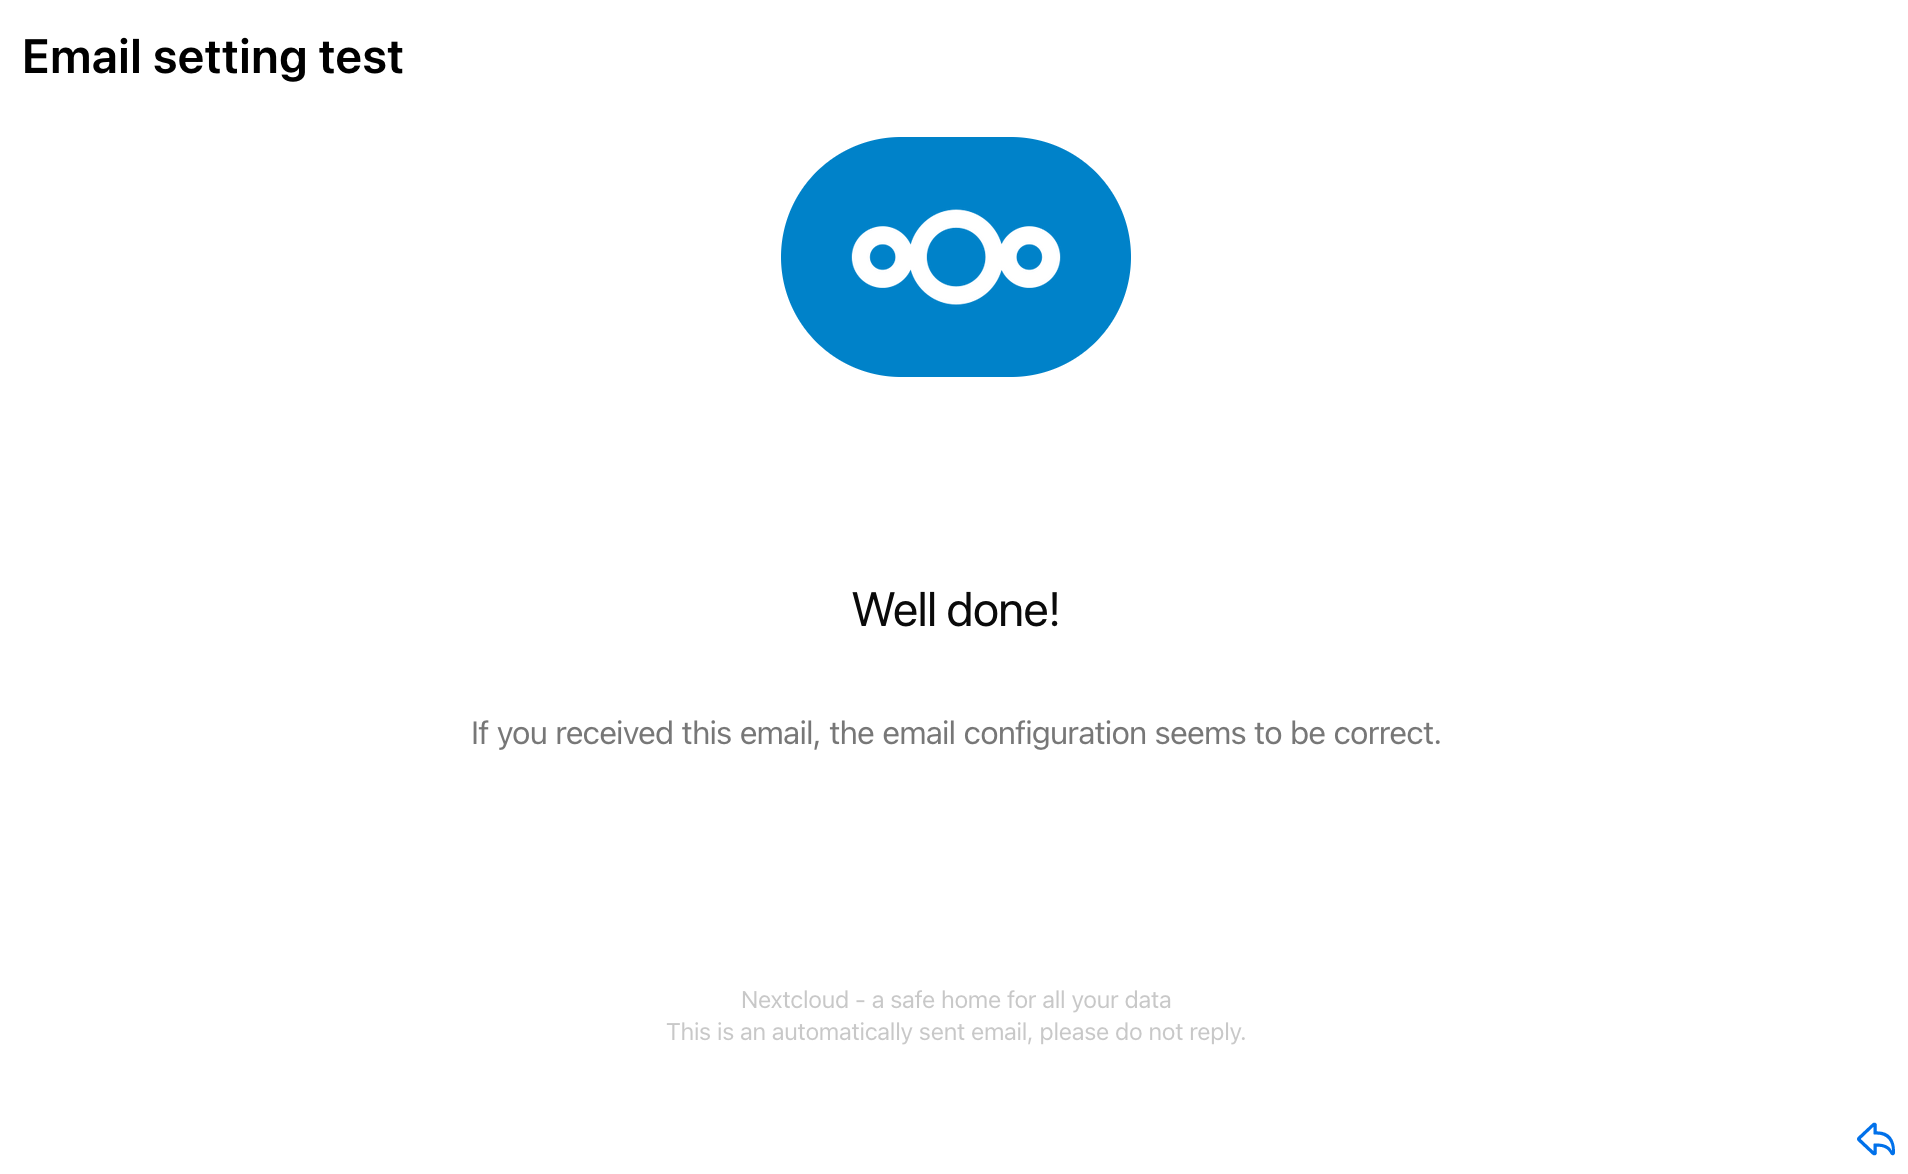
Once you have your SMTP credentials and server details, just go to the Basic settings tab and enter all details; make sure to use the proper SMTP address and port provided by your email service of choice. Once the configuration is saved, go to your personal profile on Nextcloud and add your own email address, this way you can send yourself a verification message to check that it all works, and hopefully...
5.4. Setting a default phone region and enabling Caching and Transactional File Locking with Redis
Redis will help Nextcloud optimize performance by storing compiled PHP scripts for Nextcloud after they are run, as well as keep track of files that are in use by users. Assuming you installed it earlier, ensure it's enabled by running:
sudo systemctl enable --now redis--now flag ensures you are both starting and enabling the service at the same time. Similarly, systemctl disable --now <service_name> will disable automated startup of service "<service_name>" and stop its execution immediately.We can now open the config.php file of Nextcloud to tweak Redis options. Careful: this configuration file is actually just a simple PHP script, and as such you must ensure not to break the PHP syntax, otherwise Nextcloud will refuse to load!
sudo nano /var/www/nextcloud/config/config.phpGo to the penultimate line in the file, just before the closing parenthesis and semicolon, and after making sure that there is a trailing comma at the end of the line, append the following:
'filelocking.enabled' => true,
'memcache.local' => '\OC\Memcache\Redis',
'memcache.locking' => '\OC\Memcache\Redis',
'redis' => array(
     'host' => '127.0.0.1',
     'port' => 6379,
     'timeout' => 0.0,
),password key in the redis array with the value of the password as a string.Finally, in order for users to add their phone number on their profile without having to specify the international prefix, add the following line:
'default_phone_region' => 'US',where US is your ISO 3166-1 alpha-2 country code (in this case, the one of the United States of America). You can find all country codes listed here.
As a whole, your config file should look a bit like this:
<?php
$CONFIG = array (
  'instanceid' => 'BDeM1WyehVbo',
  'passwordsalt' => 'YFV7OpD/ZiUu307QXC9BphwPAiNKnT',
  'secret' => 'y2EduUpyngGNYAO09hs2/qvlkmxYyN8nTn3L03NDujeACbjA',
  'trusted_domains' =>
  array (
    0 => 'nextcloud.example.com',
  ),
  'datadirectory' => '/var/www/nextcloud/data',
  'dbtype' => 'pgsql',
  'version' => '26.0.2.1',
  'overwrite.cli.url' => 'https://nextcloud.example.com',
  'dbname' => 'nextcloud',
  'dbhost' => '127.0.0.1',
  'dbport' => '',
  'dbtableprefix' => 'oc_',
  'dbuser' => 'nextcloud',
  'dbpassword' => 'a8Ei6sg2DXrwgyNwz2oE',
  'installed' => true,
  'mail_smtpmode' => 'smtp',
  'mail_sendmailmode' => 'smtp',
  'mail_smtpauth' => 1,
  'mail_from_address' => 'nextcloud',
  'mail_domain' => 'example.com',
  'mail_smtphost' => 'smtp.example.com',
  'mail_smtpport' => '587',
  'mail_smtpname' => '[email protected]',
  'mail_smtppassword' => 'MrTpMV41SzIhCmA6Am1S',
  'filelocking.enabled' => true,
  'memcache.local' => '\OC\Memcache\Redis',
  'memcache.locking' => '\OC\Memcache\Redis',
  'redis' => array(
    'host' => '127.0.0.1',
    'port' => 6379,
    'timeout' => 0.0,
  ),
  'default_phone_region' => 'US',
);
Save the file and check out your /settings/admin/overview page:

Any other warnings that might come up are usually due to a missing PHP module (forgot to sudo apt install php8.3-module-name?) or can otherwise be solved by following the very comprehensive documentation usually linked alongside the problem on the Overview.
You can even do a Security Scan:
5.4. Switching to cron for background jobs
Nextcloud needs to periodically become active to process user notifications and automated tasks. By default, that only happens when invoked by a user via the AJAX system. For Nextcloud to send notification and carry out operations in the background, you need to switch to the way more effective system of a scheduled crontab which will invoke Nextcloud's cron.php at a regular interval.
First, head over to Basic settings in the Administration section and set Cron (Recommended) as the Background jobs method:
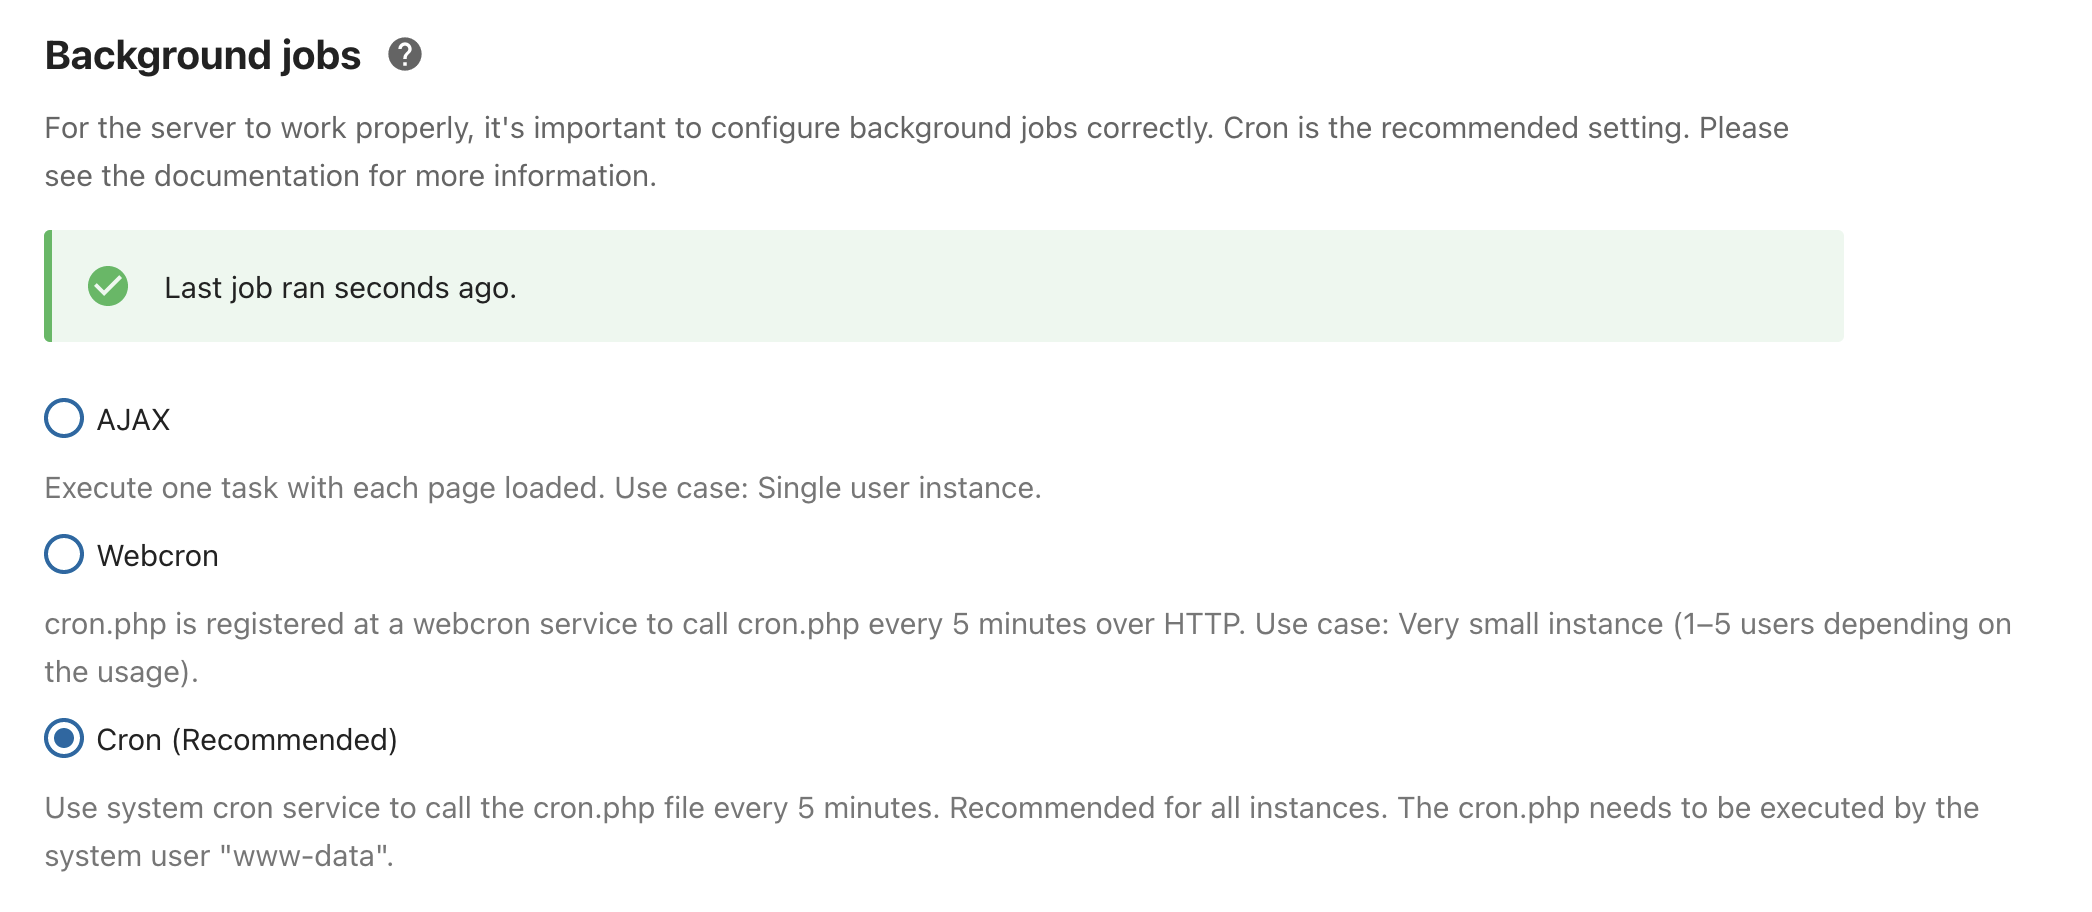
We now need to configure the actual crontab to fire regularly. Nextcloud recommends running the script on a 5-minute basis, but since I like my notifications arriving on time I'll use a 1-minute granularity for the recurring execution of the script:
sudo -u www-data EDITOR=nano crontab -eEdit www-data's crontab with nano (you can also use vim here)
You then have to append the following line at the end of the file:
* * * * * /usr/bin/php8.3 -f /var/www/nextcloud/cron.phpSave the file, and you should be golden.
* * * * * means "run at every minute, at any hour, on any day, in any month, every day of the week". Alternatively, to run cron.php every 5 minutes replace it with */5 * * * *. For more help with cron syntax, you can find a great online tool at crontab.guru.5.5. Push notifications and High-Performance File Backend
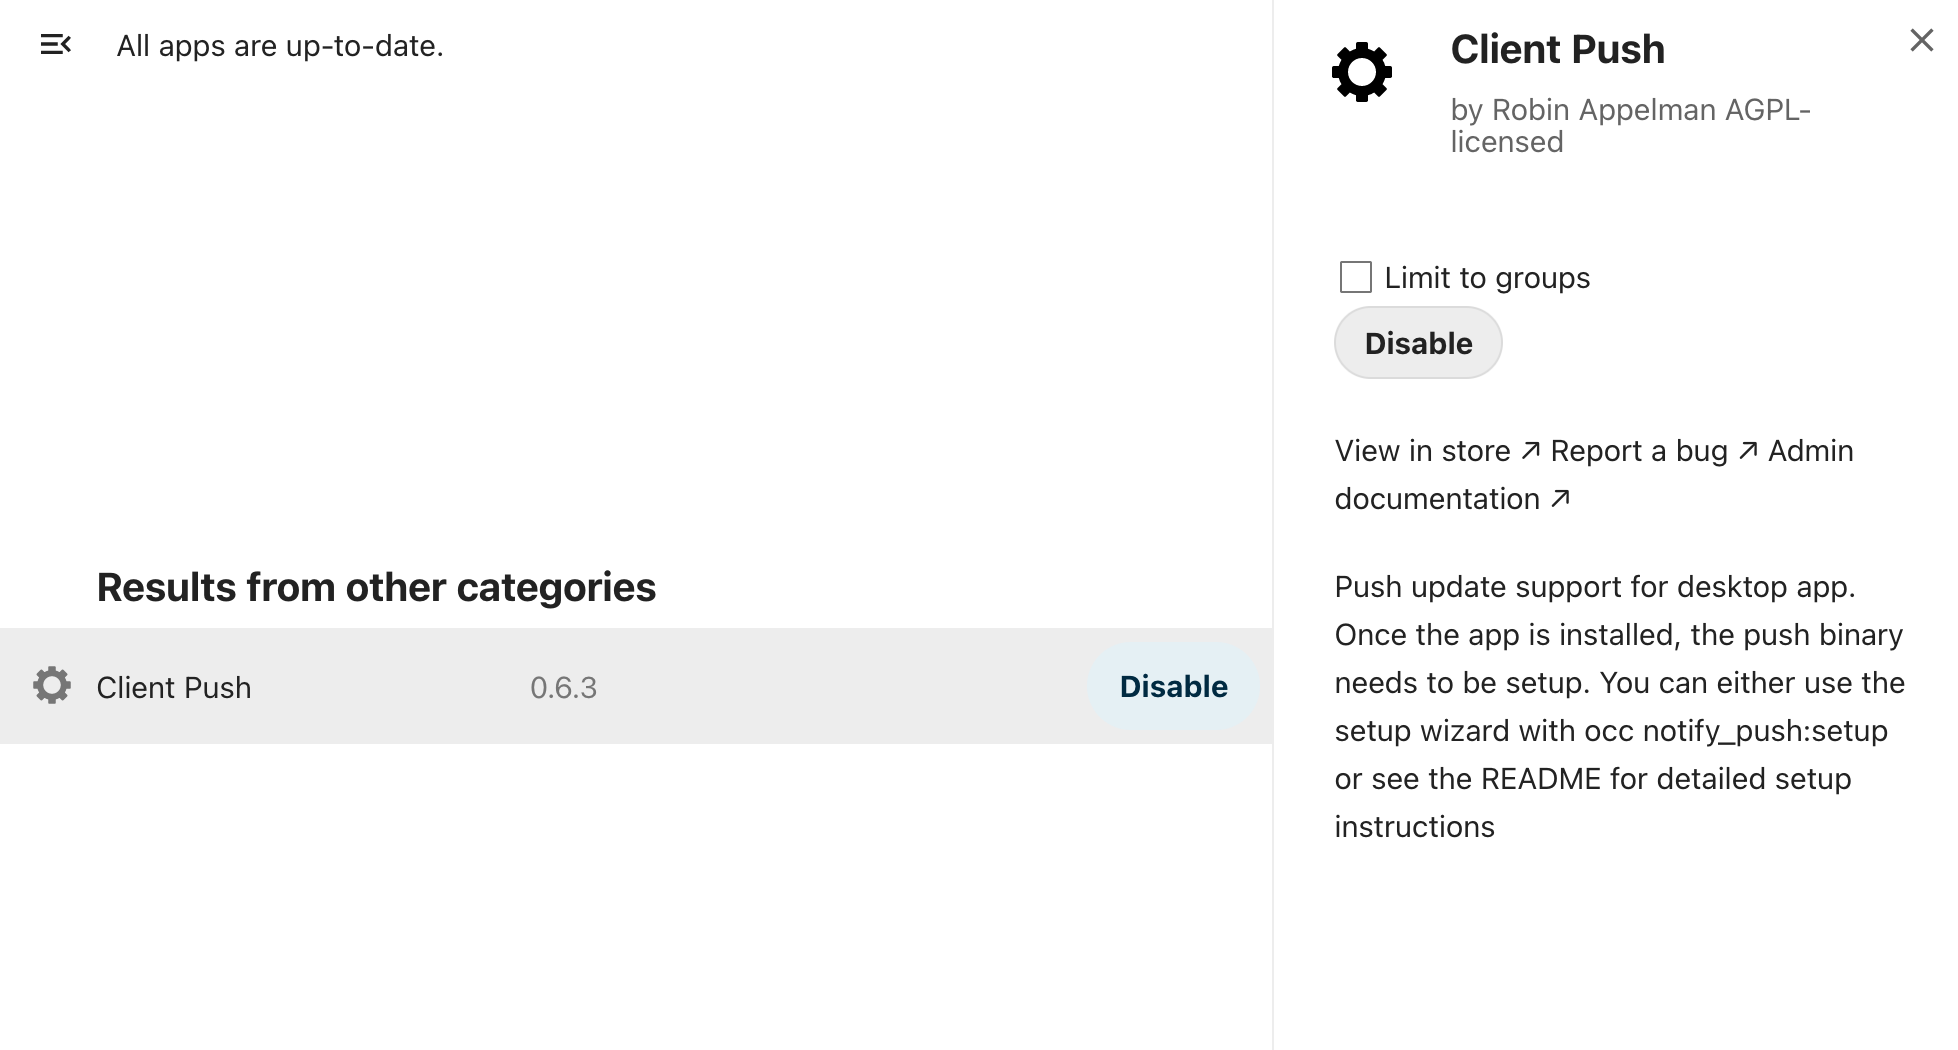
Modern Nextcloud supports the Client Push app which enables mobile clients to receive push notifications from Nextcloud, and greatly increases responsiveness in the Files app, sometimes even by a factor of 10. To achieve this, the app leverages a native service written in Rust which exposes a separate /push endpoint (a location we already configured earlier, when setting up NGINX) and is therefore far more efficient than Nextcloud's PHP code at dealing with real-time events.
In order to use this functionality, install the Client Push app from the Apps menu:
As a workaround to a nasty issue related to trusted proxies and inter-communication between Nextcloud and the Client Push backend, we're going to add two lines to the /etc/hosts file:
sudo nano /etc/hostsEdit your hosts file
Add the following at the end, replacing the domain nextcloud.example.com with your own:
127.0.0.1 nextcloud.example.com
::1 nextcloud.example.comIn addition, when using NAT it's good to avoid reliance on hairpinning, and this tweak also achieves just that.
We'll also need to update the Nextcloud trusted proxies configuration to reflect this. To do this, let's once again edit the config.php file:
sudo nano /var/www/nextcloud/config/config.phpRight before the closing parenthesis (and below any top-level line/item in the main CONFIG array ending in a comma), insert the following lines:
  'trusted_proxies' =>
    array (
      0 => '127.0.0.1',
      1 => '::1',
  ),
Now open /etc/systemd/system/notify_push.service as root with a text editor:
sudo nano /etc/systemd/system/notify_push.serviceCreate a SystemD unit
Paste the configuration below, as always replacing the example domain:
[Unit]
Description = Push daemon for Nextcloud clients

[Service]
Environment=PORT=7867
Environment=NEXTCLOUD_URL=https://nextcloud.example.com
ExecStart=/var/www/nextcloud/apps/notify_push/bin/x86_64/notify_push /var/www/nextcloud/config/config.php
User=www-data

[Install]
WantedBy = multi-user.target
The SystemD module for the Client Push daemon
x86_64 architecture (also known as amd64, x64 or generically as "Intel/AMD 64-bit"). While indeed most Linux servers are based on this architecture, ARM is becoming increasingly popular in the cloud space (e.g. Oracle Cloud Infrastructure's Ampere-based instances), and you're also gonna encounter ARM if you're using an embedded device like a Raspberry Pi.The
notify_push daemon is available for both x64 and ARM CPUs—and for the latter both in the 32-bit (armv7) and 64-bit (aarch64) variants. If you're unsure about your server's processor architecture, you can use the uname -i command to find out. If it's not x86_64, make sure to update the path in the config file above to reflect that.Save this file, then run sudo systemctl enable --now notify_push. This will launch a background process to handle notifications for us.
All we need to do now is to perform the automated setup procedure using occ. Make sure to replace the domain nextcloud.example.com with your own:
sudo -u www-data php8.2 -f /var/www/nextcloud/occ notify_push:setup https://nextcloud.example.com/pushRun the command, then press enter once to continue
If everything went well, you should get something that looks like this:
✓ redis is configured
✓ push server is receiving redis messages
✓ push server can load mount info from database
✓ push server can connect to the Nextcloud server
✓ push server is a trusted proxy
✓ push server is running the same version as the app
  configuration saved
Success!
6. Office document editing with Collabora
Collabora Office is a full-fledged office suite interoperable with both OpenOffice/LibreOffice and Microsoft Office (XML) formats. It's based on the LibreOffice productivity suite and is well-integrated within Nextcloud. If you've installed the Nextcloud Office app earlier (it can be obtained from Nextcloud Apps), you just need a Collabora Online server.
Since the app is quite heavy, you run the risk of the PHP script timing out before Nextcloud is done downloading/installing it. To work around this limitation, you can use the following command to manually install the application using the occ management utility:
sudo -u www-data php -d memory_limit=512M /var/www/nextcloud/occ app:install richdocumentscodeInstall the Collabora app via occ
You can now enable Collabora by going to Administration settings > Office and selecting the option "Use the built-in CODE - Collabora Online Development Edition". Since we are using the built-in CODE server we can ignore the warning about WOPI.
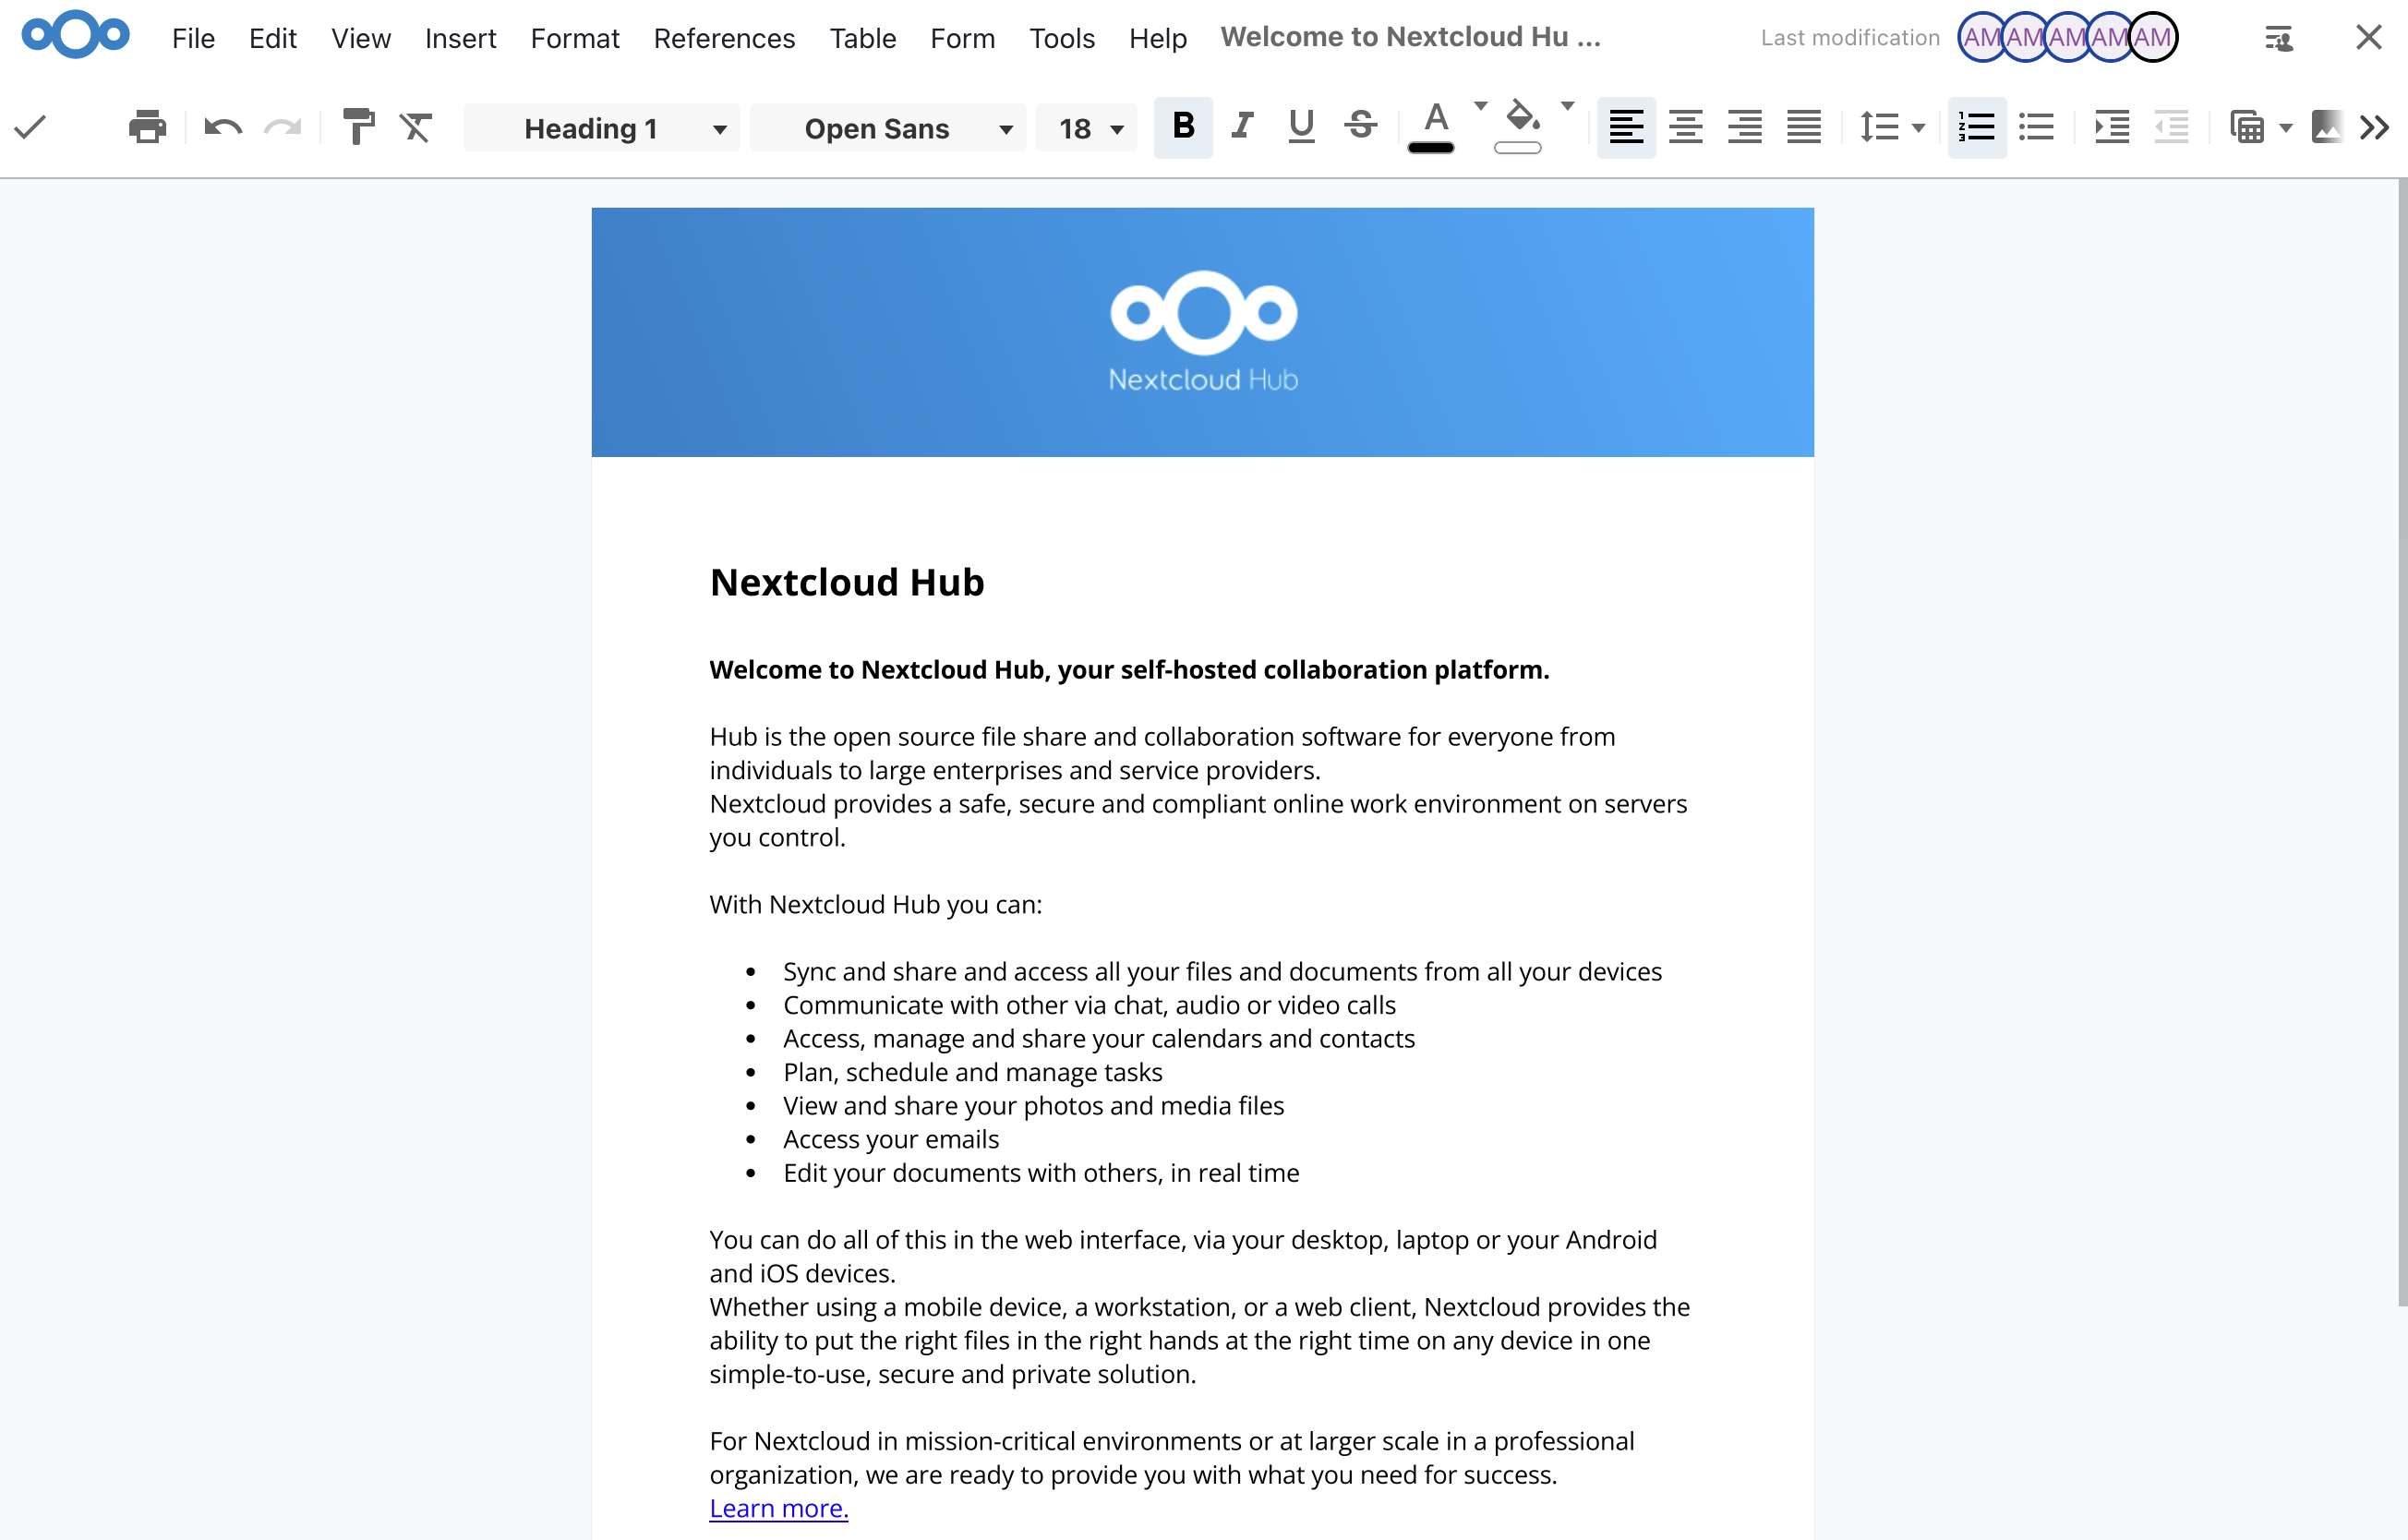
You should finally be able to open and create Office-format documents from Files:
7. Conclusion
I hope this tutorial was helpful when setting up your own Nextcloud instance. It's obviously not possible to cover all additional apps, tweaks and features to truly make the install yours, but I recommend checking out the official Documentation, especially the Administration Manual available at this URL, which goes very in-depth about everything you need to know about maintaining a Nextcloud install.
This is a great time to look into a backup strategy. In order to protect your data from accidental deletions, corruption, hardware failure or malware attacks/ransomware, you want to regularly create one (or ideally multiple) redundant snapshots of your users' data, preferably in multiple locations, offsite.
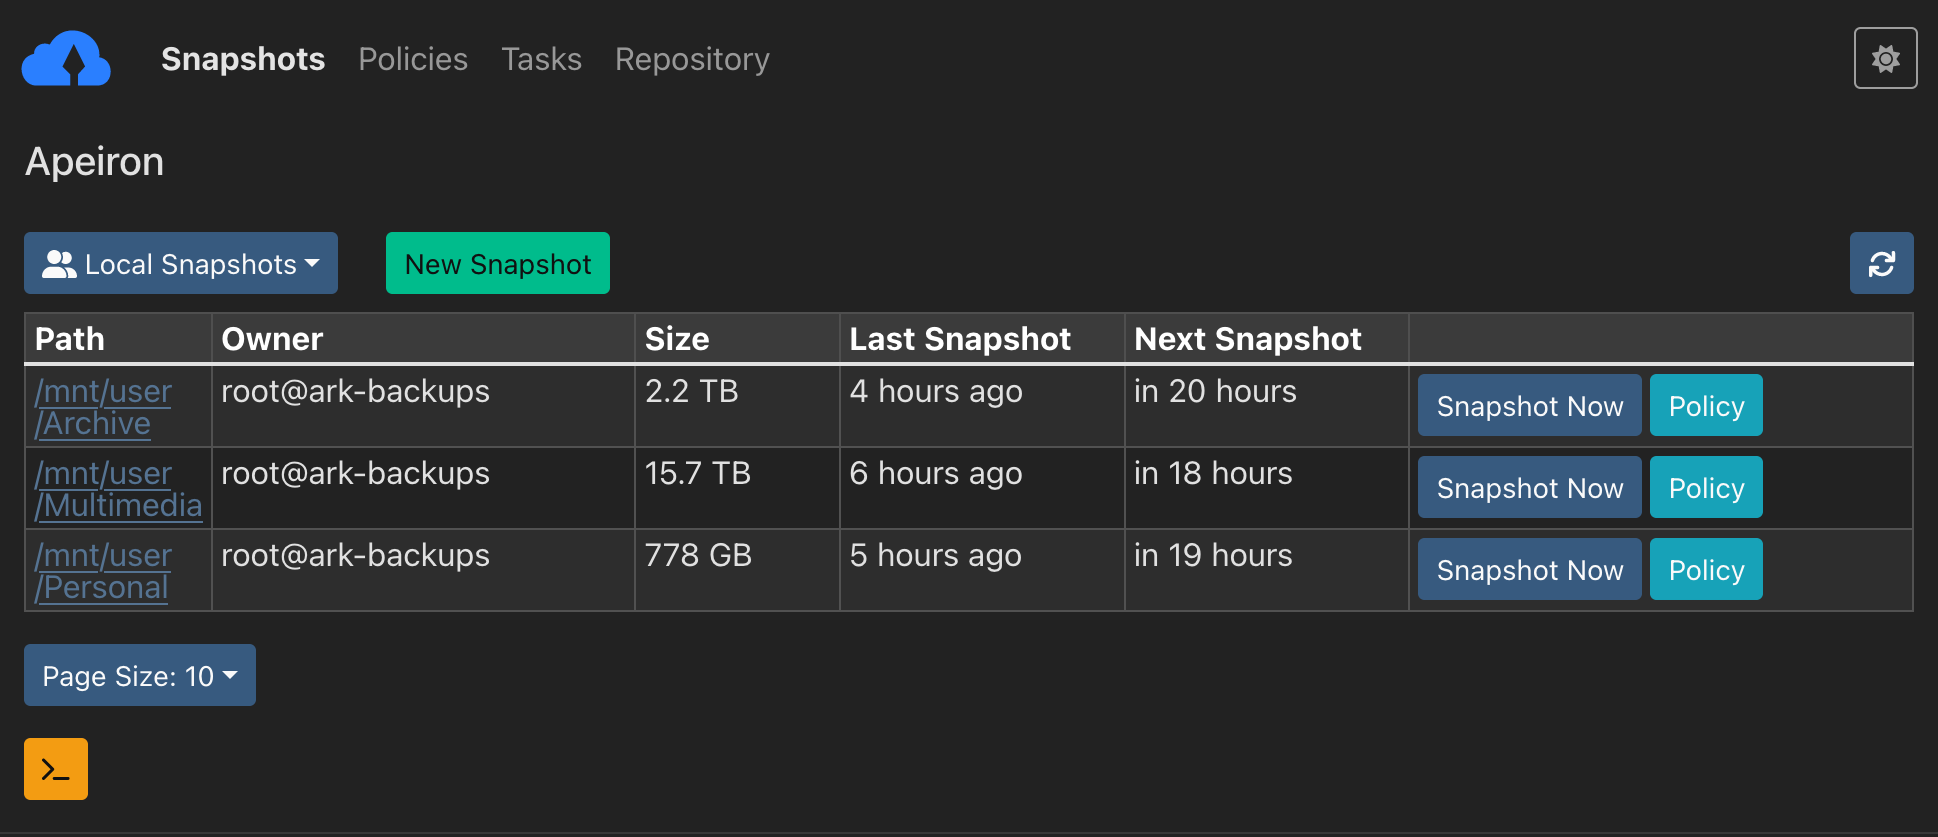
My favorite application for this purpose is Kopia: it's free and open-source, very fast, it has compression, encryption and scheduling built-in, it features a user-friendly GUI and can connect to and use several different storage providers, including:
- local drives
- Google Drive
- Amazon S3
- Backblaze B2
- SFTP
- WebDAV (including Nextcloud)
- Rclone support out-of-the box (for use with e.g. Dropbox, OneDrive and more)
Kopia is also available on Docker, and it has a very large set of features to customize Snapshots (backup jobs). You can even use Kopia to back up your Nextcloud database (containing calendars, contacts, app/user data, shared directories, file indices etc.), by defining a Snapshot and then editing its Policy, adding the path to a Before Snapshot script which dumps your database to the Snapshot directory.
Your script could look something like:
#!/bin/bash

# Specify your own preferences below
# --------------------------------------
DATABASE_PASSWORD="a8Ei6sg2DXrwgyNwz2oE"
DATABASE_USER="nextcloud"
DATABASE_HOST="localhost"
DATABASE_NAME="nextcloud"
DUMP_DIRECTORY="/var/db_backups/"
DAYS_TO_KEEP=30
# --------------------------------------

# Delete dumps older than ${DAYS_TO_KEEP} days
find ${DUMP_DIRECTORY} -type f -mtime +${DAYS_TO_KEEP} -name '${DATABASE_NAME}_dump_*.sql' -execdir rm -- '{}' \;

current_date=$(date "+%Y-%m-%dT%H_%M_%S%z")
PG_PASSWORD=${DATABASE_PASSWORD} pg_dump -U ${DATABASE_USER} -h ${DATABASE_HOST} ${DATABASE_NAME} > ${DUMP_DIRECTORY}/${DATABASE_NAME}_dump_${current_date}.sql
This sample script checks for existing backups at /var/db_backups and deletes local backup copies of the database older than 30 days, then creates a new one to a .sql flat-file using the pg_dump utility. For MariaDB and MySQL, mysqldump is the equivalent command.
Point Kopia to the same directory so that it will periodically snapshot your database backups. Set the snapshot to automatically run every day, along with one that backs up your Nextcloud data directory itself, and make sure to set reasonable values in the Snapshot Retention policy to keep a decent number of database versions at different points in time.
Any problems? Suggestions? Just wanna say hi? Leave a comment below!